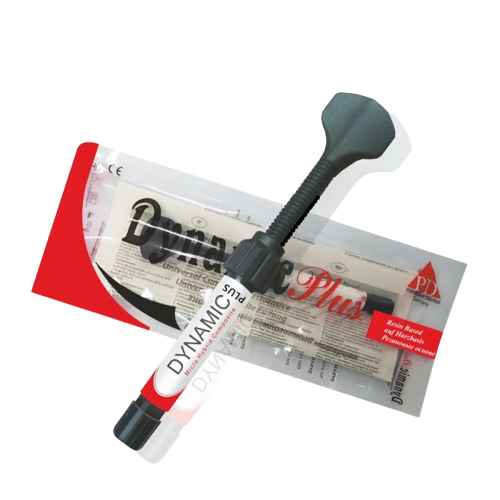
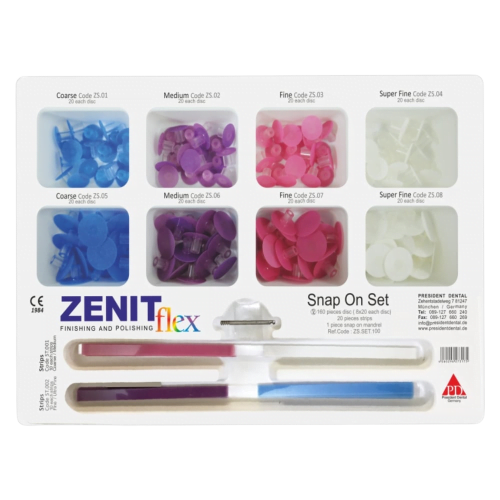
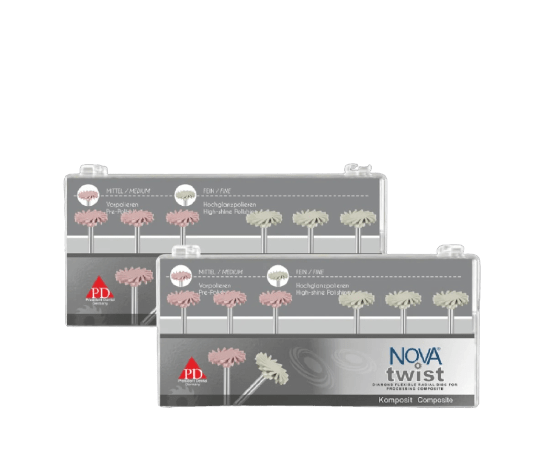
Nano Composite is a light-cured, high-gloss polished composite containing an ultra-thin, radio-opaque porcelain filler used in adhesive filling treatment. It can be polished to a high shine. Thanks to its ultra-fine particle filling, extremely homogeneous restorations can be made and easily polished to a high gloss. The chameleon effect ensures that the filling color perfectly matches the tooth structure. Compliance with DIN EN ISO 24049 guidelines is ensured. Nano Composite is supplied in practical screw syringes.
Compound:
Monomer matrix: diurethane dimethacrylate, butanediol dimethacrylate, isopropylid-bis[2(3)-hydroxy-3(2)-(4-phenoxy)propyl] bismethacrylate [Bis-GMA]
Total filler content 83% by weight (70% by volume)
– Glass filler (medium particle size: 0.7 micron)
– Pyrogenic silica (medium particle size: 12 nm)
– Agglomerated nano-particles (medium particle size 0.6 micron)
Indications
– Direct anterior and posterior restorations in Black class I, II, III, IV and V cavities
– Indirect restorations such as inlay, onlay and lamina veneer
– Extended fissure closure in molar and premolar teeth
– Cole
– Splinting of mobile teeth
– Adjusting contours and giving color to correct aesthetics
Application
Preparedness measures
Before starting treatment, clean the tooth with a fluoride-free polishing paste. Use the Vita® shade guide for shade selection while the tooth is still moist.
1. Preparation of the Cavity
Prepare the cavity generally as minimally invasive as necessary for adhesive techniques. All enamel margins should be beveled in the anterior region. Do not bevel the edges in the posterior region and avoid slice preparation. Clean the cavity by spraying with water, remove all debris and dry. The cavity must be isolated. It is recommended to use a rubber barrier.
2. Pulp preservation / Cavity lining
Cavity lining is not required if enamel-dentin adhesive is to be used. In very deep cavities where some areas are very close to the pulp, the pulp should be covered with a material containing calcium hydroxide.
3. Approximal contact zones
When filling cavities in the approximal areas, place a transparent matrix and fix it in place.
4. Etching
First apply the etching to the enamel areas of the cavity and wait for it to take effect for 30 seconds. Then fill the entire cavity (dentin) with etching gel and wait another 15 seconds for it to take effect. The etching time on dentin should not exceed 20 seconds. Then thoroughly wash the cavity with water spray and dry it with oil-free compressed air. Do not overdry the dentin. Dried and etched enamel surfaces appear chalky white and should not be contaminated prior to application of the binder. If the surface is contaminated with saliva, wash and dry again and abrade if necessary.
5. Application of binding agent See Prebond instructions for details.
6. Placing the composite in the cavity
Take the required amount of composite from the screw-in syringe, apply and shape the cavity using standard metal tools. The thickness of the layers should not be more than 2 mm. The dispersion layer, which is a thin and non-polymerized film, remains on the surface after curing under the influence of oxygen in the air. This provides a chemical bond between the layers and should not be touched or contaminated with moisture.
Curing
For all colors, the exposure time is 40 seconds per layer with a standard halogen polymerization unit or LED polymerization lamp, and 2 x 3 seconds with a plasma polymerization unit. Hold the light guide as close to the fill surface as possible. Polymerize any surface of complex fillers.
7. Shaving
Immediately after curing the Nano Composite, the finishing diamond can be shaved and polished with flexible discs, silicone buffs and polishing brushes. Check occlusion and articulation surfaces and sculpt to remove high spots or unwanted articulation paths on the surface of the sealant.
indirect method
Preparation of the cavity
The cavity should be prepared as minimally invasive as possible, with the sides only slightly apart. All interior lines and point angles must be rounded. Avoid preparation in slices. Create a straight cervical shoulder, do not give curvature. Unavoidable undercuts should be blocked with glass ionomer cement. Use a round-tipped and slightly tapered diamond in the preparation. Cover the dentin areas close to the pulp with a thin layer of calcium hydroxide material. Cavity linings containing ogenol are contraindicated.
Inlay fabrication
Pour the impression with a strong mental stone in the laboratory. Wait for the model to collapse and pull out the impression. Block the undercuts and apply an oil-free release agent to the model. Build the inlay on the model in layers. Construct the approximal and deep occlusion cuts first. Each layer should be no more than 2 mm thick and be additionally cured with a commercially available light curing lamp. The paint is then removed from the finished inlay and it is fully cured. Shave the occlusion surfaces with the fissure drill and polish to a high gloss with silicone polish and diamond paste. Clean the inlay with soap and water, wash with air/water spray and dry.
Attaching inlays, onlays and veneers
Remove the temporary restoration and clean the cavity. Place a rubber barrier, then clean and dry the prepared surface of the tooth. Check the fit by applying light pressure to the restoration. Do not force the restoration to fit. File the seat surface, if necessary, to increase fit. Occlusion and articulation should not be controlled while attempting to fit the inlay, as there is a risk of the inlay breaking. Etching the thread (see Etching instructions for use), wash thoroughly with water spray and dry the abraded surfaces with oil-free compressed air. dried and
Abraded enamel surfaces appear chalky white, should not be contaminated prior to application of Prebond LC. If the surface is contaminated with saliva, wash and dry again and abrade if necessary. Apply a thin coat of Prebond LC bonding agent with a brush to abraded enamel and cavity walls, scrub and cure for 40 seconds with a standard polymerization unit. After curing, a dispersion layer is formed which should not be removed, this layer chemically bonds with the filler material. Sandblast the inside of the composite restoration surface, then clean with alcohol and apply Prebond LC without light curing. Mix commercial dual-hardening composite cement and apply it to the inner surface of the restoration. Carefully place the inlay in place and remove excess with a spatula. Remove excess from the proximal side with a probe or dental floss. To ensure that the inlay stays in the correct position, gently press down on it with a round-tipped stopper until cure is complete. Beginning from the proximal, cure each surface of the composite for 40 seconds with a standard halogen polymerization unit or LED polymerization unit. Remove excess with fine-particle diamond rotary tools, then with diamond-coated finishing strips. Check occlusion and correct if necessary. Complete the final coat and buff with a topcoat polish with the buffing kit. Note: If the inlay thickness is greater than 2 mm, a dual curing composite should be used.
Attention please:
Working time under dental light is approximately 2 minutes. When placing time-consuming restorations, dental light should be temporarily removed or the composite covered with an opaque foil to prevent premature curing of the composite. Use a light curing unit with an emission spectrum of 350 – 500 nm to cure this material. Since the desired physical properties can only be achieved with the correct function of the lamp, the brightness intensity should be checked regularly as defined by the manufacturer.


Reviews
Clear filtersThere are no reviews yet.